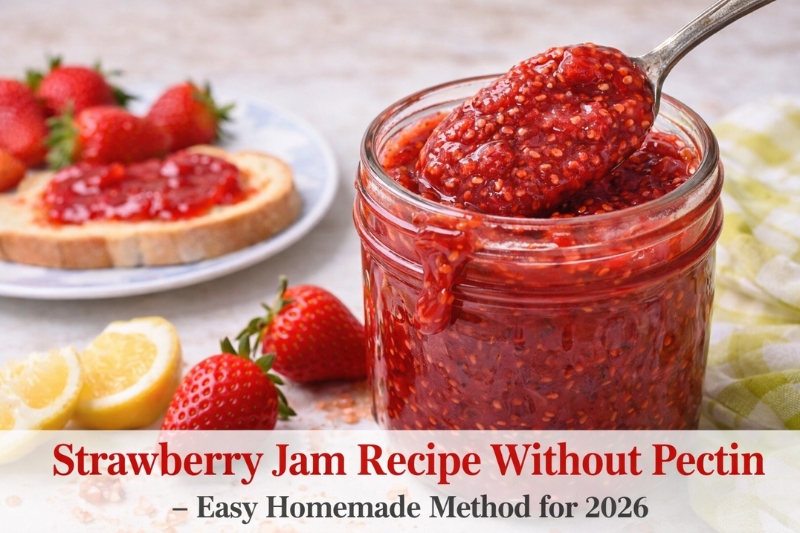

Have you ever wanted to make homemade strawberry jam but felt overwhelmed by recipes that demand special equipment, complicated techniques, or hours in the kitchen?
You’re not alone. Many strawberry jam recipes call for candy thermometers, canning tools, pectin, or massive amounts of fruit, which can be frustrating if you just want something simple, quick, and reliable.
That’s exactly why this easy strawberry jam recipe exists.
This small-batch strawberry jam is made with just three basic ingredients, requires no pectin, and comes together using straightforward, beginner-friendly steps. No fancy tools, no stress, and no guesswork.
It’s ideal for first-time jam makers, small households, and anyone who loves the taste of fresh, homemade strawberry jam without unnecessary effort.
Let’s walk through this foolproof strawberry jam method step by step and show you how to get perfect results every time.
Why You’ll Love This Easy Strawberry Jam Recipe

Before we get started, here’s exactly why this easy homemade strawberry jam will quickly become one of your most-used kitchen recipes:
- Just 3 simple ingredients – fresh strawberries, sugar, and lemon juice. No additives, no preservatives, and nothing hard to find.
- No pectin strawberry jam – skip the gelatin, candy thermometers, and complicated canning equipment entirely.
- Perfect small-batch size – this recipe makes a little over a pint, making it ideal for small households, beginners, or anyone who doesn’t want excess jam.
- Works with other berries too – use the same method for raspberry jam, blueberry jam, or mixed berry jam.
- No canning required – this refrigerator strawberry jam keeps well for weeks to months when stored properly.
If it sounds almost too easy, that’s because it is — and once you try it, you’ll see just how foolproof and beginner-friendly this strawberry jam recipe really is. Let’s dive in.
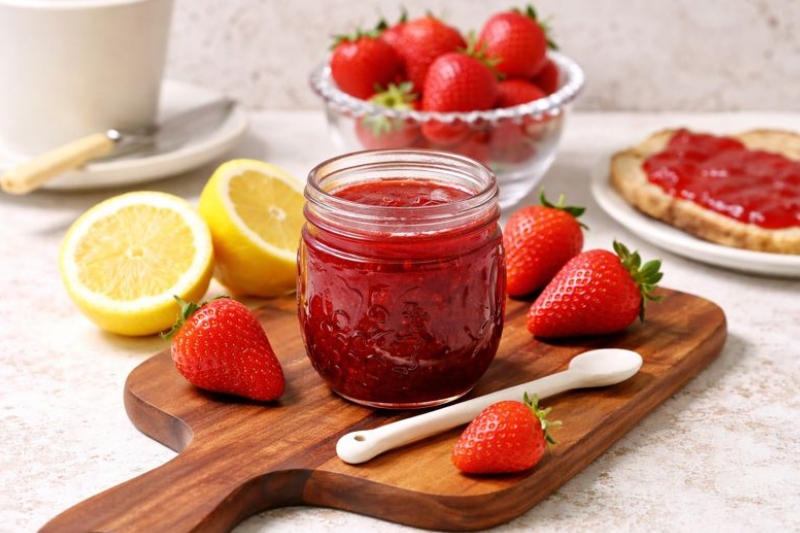
Ingredients You’ll Need for Homemade Strawberry Jam

One of the best things about this easy strawberry jam recipe is how short and simple the ingredient list is. You only need three everyday ingredients to make a flavorful, perfectly set no-pectin strawberry jam.
Simple 3-Ingredient Strawberry Jam List
| Ingredient | Quantity | Notes |
|---|---|---|
| Fresh Strawberries | 2 pounds (about 4 cups, chopped) | Rinse well, remove stems, and chop roughly. Ripe strawberries give the best flavor and natural sweetness. |
| Granulated Sugar | 2 cups | Regular white sugar works best to extract juices and help the jam thicken naturally. |
| Lemon Juice | 1 tablespoon | Freshly squeezed lemon juice or bottled lemon juice both work; it balances sweetness and improves texture. |
Pro Tip: You can easily scale this small-batch strawberry jam recipe up or down, but avoid cooking very large batches in a single pot. Overcrowding the pan can prevent proper evaporation, making it harder for the jam to thicken evenly.
Tools You Need to Make Strawberry Jam at Home
One of the biggest reasons readers love this easy homemade strawberry jam recipe is that it doesn’t require any special equipment or professional canning tools. If you have a basic kitchen setup, you’re already prepared.
Essential Tools for No-Pectin Strawberry Jam
| Tool | What It’s Used For |
|---|---|
| Large Mixing Bowl | Combines chopped strawberries, sugar, and lemon juice before cooking. |
| Paring Knife or Strawberry Huller | Removes strawberry stems quickly and cleanly. |
| Wooden Spoon or Heat-Safe Spatula | Stirring the jam as it cooks to prevent sticking or scorching. |
| 4-Quart Saucepan or Heavy-Bottom Pot | Provides enough space for the jam to bubble and reduce evenly. |
| Stovetop | Used to simmer the jam over medium to medium-high heat. |
| Canning Funnel | Makes transferring hot jam into jars cleaner and safer. |
| Ladle or Large Spoon | Scoops hot strawberry jam into storage jars. |
| Glass Jars with Lids | Ideal for storing refrigerator jam (8-ounce or half-pint jars work best). |
| Freezer-Safe Plate | Used for the classic jam set test to check thickness. |
| Tongs (Optional) | Helpful when handling warm jars safely. |
| Labels or Permanent Marker | Mark jars with the preparation date for easy tracking. |
No pectin, no candy thermometer, and no water-bath canning setup required.
Just simple tools, a straightforward process, and a beginner-friendly strawberry jam method that works every time.
How to Make Strawberry Jam (Step-by-Step Tutorial)
Making homemade strawberry jam doesn’t need to feel technical or overwhelming. This method is intentionally simple, low-tech, and beginner-friendly — no pectin, no gelatin, no candy thermometer, and no canning setup required.
If you have a bowl, a saucepan, and about an hour of hands-on time, you can make a small-batch strawberry jam that tastes fresh, vibrant, and beautifully homemade.
Let’s walk through the entire process step by step, from prepping your strawberries to storing your finished jars.
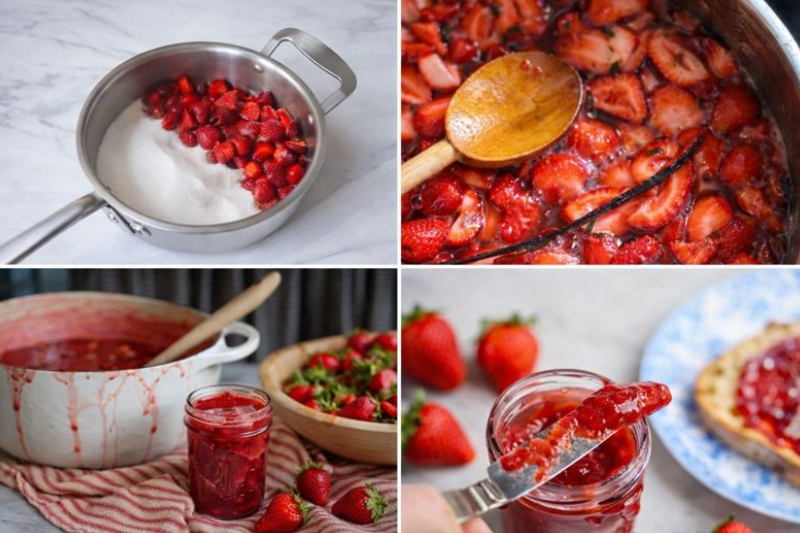
Step 1: Prepare the Strawberries
Start with fresh, ripe strawberries. You’ll need about 2 pounds, which is the perfect amount for an easy, manageable batch.
Rinse the strawberries thoroughly under cool water to remove any dirt or residue. Pat them dry using a clean kitchen towel or paper towels.
Next, remove the green tops and white cores. A paring knife, strawberry huller, or melon baller all work well for this step.
Once hulled, roughly chop the strawberries into chunks.
There’s no need to be precise here — uneven pieces are totally fine. Larger chunks create a rustic texture and give the jam that classic homemade feel.
Why this works: No blender, no food processor, no extra cleanup — just simple prep.
Step 2: Add the Lemon Juice
Lemon juice plays an essential role in no-pectin strawberry jam.
Drizzle 1 tablespoon of lemon juice over the chopped strawberries. This equals roughly half of a large lemon. Freshly squeezed or bottled lemon juice both work.
If a seed slips in, simply remove it with a spoon or your fingers.
Why lemon juice matters:
It helps the jam thicken naturally, balances the sweetness, and preserves the bright red color of the strawberries.
Step 3: Add Sugar and Let It Rest
Sprinkle 2 cups of granulated sugar evenly over the strawberries and lemon juice. Stir well until all the fruit is coated.
At this stage, the strawberries will begin a process called maceration, where sugar draws out the fruit’s natural juices.
Let the mixture rest at room temperature for about 1 hour. As it sits, the sugar dissolves, and the strawberries release a deep red, syrupy liquid.
Short on time? One hour is enough.
Planning ahead? You can cover the bowl and refrigerate it overnight for even more flavor development.
Step 4: Transfer to the Pot
Once the strawberries are fully macerated, pour everything — fruit and juice — into a large saucepan.
Use a 4-quart or larger pot to allow room for bubbling as the jam cooks. This prevents boil-overs and ensures even reduction.
Place the pot on the stovetop and prepare to cook.
Step 5: Cook the Jam
Turn the heat to medium-high and bring the mixture to a gentle boil. Stir continuously during this phase.
This step requires attention. Because there’s no added pectin, the sugar can scorch if left unstirred.
As the jam cooks, a layer of foam may form on the surface. This is normal.
If the foam rises too high, briefly lift the pot off the heat while stirring until it settles.
Important:
If the jam starts sticking or smells burnt, immediately reduce the heat. Burnt jam cannot be fixed.
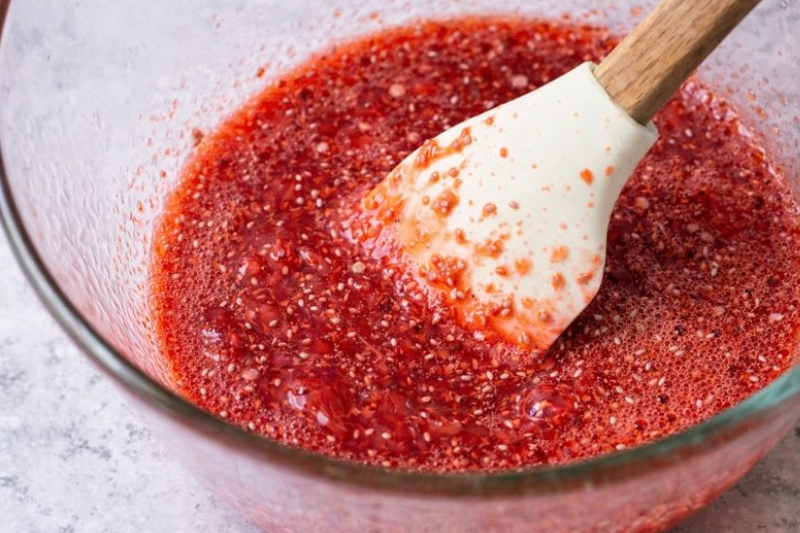
Step 6: Reduce and Thicken
Continue cooking and stirring as the jam thickens, about 30–40 minutes.
You’ll know it’s close to done when these signs appear:
1. Foam reduces
The foamy bubbles gradually disappear and blend back into the jam.
2. Bubble texture changes
Instead of rapid boiling, the bubbles become slower and thicker — more like lava or pudding.
3. Frozen plate test
Place a small plate in the freezer before cooking. Spoon hot jam onto the cold plate, wait 10 seconds, then drag your finger through it.
If the jam holds its shape and doesn’t run together, it’s ready.
This test mimics the final cooled texture instantly.
Step 7: Fill the Jars
Once the jam reaches the right consistency, remove it from the heat and jar it while still hot.
To prevent glass jars from cracking, warm them first by filling with boiling water and letting them sit for 10 minutes. Pour out the water just before filling.
Use a ladle and canning funnel to transfer the hot jam into jars, leaving about ¼ inch of space at the top.
This recipe makes just over 1 pint, which fills:
- Two 8-ounce jars, or
- Three 6-ounce jars
Wipe the rims clean and secure the lids.
No water-bath canning needed.
Step 8: Refrigerate and Store
Because this is refrigerator strawberry jam, it isn’t shelf-stable. Store the jars in the fridge once cooled.
Properly stored, the jam will keep for up to 6 months.
Label each jar with the preparation date and always use a clean spoon when serving to maintain freshness.
Tips for Perfect Strawberry Jam Every Time
This easy homemade strawberry jam recipe is very forgiving, but a few smart techniques can take your results from good to consistently great. Whether you’re a beginner or making jam for the first time, these tips will help you achieve the best flavor and texture.
1. Start with Fully Ripe Strawberries
Great strawberry jam begins with quality fruit. Look for ripe, deep-red strawberries that are fragrant and evenly colored, with no white cores or soft spots.
Seasonal or locally grown strawberries usually provide the strongest natural sweetness and flavor, which means better jam without extra sugar.
2. Stir Frequently During Cooking
Once the jam hits the stovetop, it needs attention. No-pectin strawberry jam thickens slowly and can scorch if ignored.
Stir regularly, especially as the mixture reduces, to keep the sugars from sticking and to ensure even cooking.
3. Choose a Large, Heavy-Bottom Pot
Use a saucepan or pot that holds at least 4 quarts. As the jam boils, it will bubble and foam aggressively.
A larger pot prevents overflow and allows proper evaporation, which is essential for a thick, well-set strawberry jam.
4. Let the Strawberries Macerate Properly
Don’t rush the sugar-resting step. Allowing the strawberries to sit with sugar for at least one hour draws out their natural juices.
This short maceration period shortens cooking time and creates a smoother, more flavorful jam with better consistency.
5. Always Test for Doneness
If you’re unsure whether your jam is ready, use the frozen plate test. It’s the most reliable way to check jam consistency without a thermometer.
This simple test shows exactly how the jam will set once cooled, helping you avoid runny or overcooked results.
How to Tell When Strawberry Jam Is Ready
No pectin. No candy thermometer. No stress.
When making homemade strawberry jam, especially a no-pectin strawberry jam, don’t rely on temperature alone. Instead, use these simple visual and texture-based signs to know exactly when your jam has reached the right consistency.
1. The Foam Settles and Disappears
Early in the cooking process, strawberry jam produces a lot of surface foam. As the jam thickens and finishes cooking, that foam begins to melt back into the mixture.
When you stir and the foam blends in smoothly, without returning, your jam is very close to being done.
2. The Bubbles Slow Down and Grow Larger
Pay attention to how the jam bubbles.
At first, the mixture boils rapidly like water. As moisture evaporates and sugars concentrate, the bubbles become thicker, slower, and glossier, similar to bubbling lava or pudding.
This change in bubbling is one of the most reliable signs of properly thickened strawberry jam.
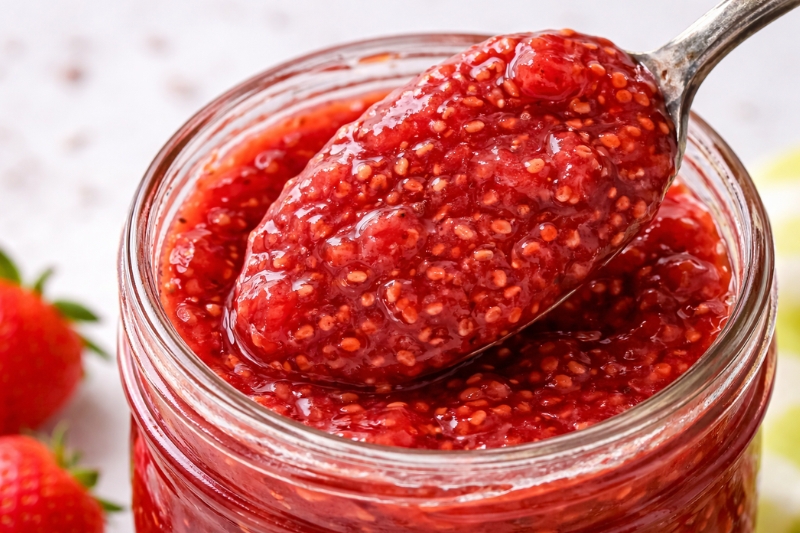
3. The Jam Coats the Spoon
As you stir, the jam will begin to cling to your spoon or spatula instead of dripping off quickly.
You may notice it briefly holding its shape or forming soft mounds, another indicator that the jam is nearing its final set.
4. Use the Frozen Plate Test (Most Accurate Method)
The frozen plate test is the best way to confirm jam doneness without any special tools:
- Place a small plate in the freezer before cooking.
- Spoon a small amount of hot jam onto the cold plate.
- Wait about 10–15 seconds.
- Drag your finger through the center.
If the jam holds the line and doesn’t flow back together, it’s ready to be removed from the heat.
This test instantly shows how the jam will behave once cooled — no thermometer required.
How to Use Your Homemade Strawberry Jam
Now that you’ve made a batch of homemade strawberry jam, it’s time for the fun part — enjoying it. This easy strawberry jam is incredibly versatile and works far beyond basic toast.
Here are delicious, practical ways to use your no-pectin strawberry jam throughout the day.
Breakfast & Brunch Ideas
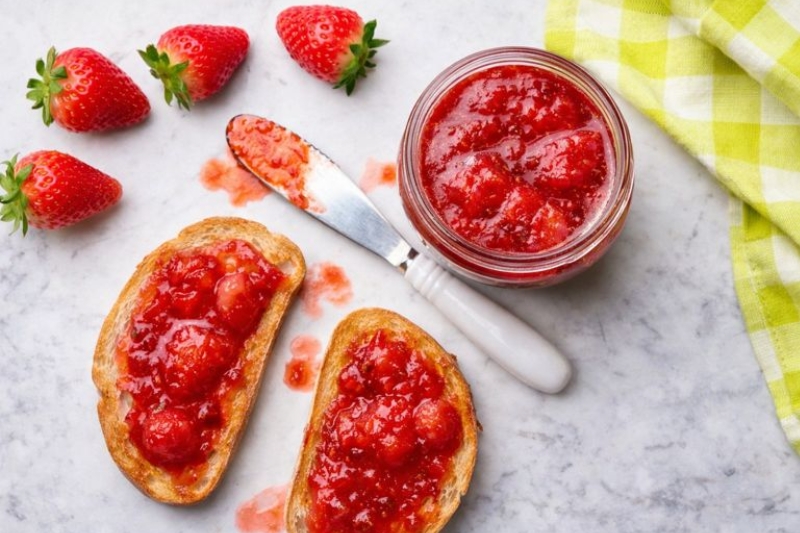
- Spread generously on warm, buttered toast
- Spoon over flaky biscuits or toasted English muffins
- Swirl into Greek yogurt, overnight oats, or hot oatmeal
- Drizzle over pancakes, waffles, or crepes for a fruity finish
Sandwiches & Quick Snacks
- Elevate a classic PB&J sandwich with homemade jam
- Pair with brie or sharp cheddar in a grilled cheese
- Spread onto crackers or crostini for an easy snack
- Create elegant tea sandwiches for gatherings
Baking & Dessert Uses
- Fill thumbprint cookies or jam sandwich cookies
- Layer into crumble bars, jam bars, or shortbread slices
- Swirl into cheesecakes, layer cakes, or parfaits
- Serve alongside vanilla ice cream or whipped cream
Creative & Savory Ideas
- Stir into lemonade, iced tea, or cocktails for a fruity twist
- Use as a glaze for roasted chicken, pork, or ham
- Warm slightly and drizzle over baked brie or goat cheese
This small-batch strawberry jam adapts to just about anything — sweet or savory. If it sounds good with fruit, chances are this jam will make it even better.
Easy Strawberry Jam Variations You’ll Love
Looking to shake up your next batch of homemade strawberry jam? Try one of these delicious variations to infuse fresh, exciting flavors into your spread. Each twist offers something special, so you can experiment with unique tastes while sticking to the same tried-and-true base method!
| Variation | What to Add | When to Add | Tip |
|---|---|---|---|
| Strawberry-Vanilla Jam | ½ tsp vanilla extract or ½ vanilla bean | Add during the final 5 minutes of cooking | The smooth, aromatic essence of vanilla perfectly complements the sweetness of strawberries, turning this jam into a comforting, indulgent treat. |
| Strawberry-Basil Jam | 1–2 tbsp finely chopped fresh basil | Replace 1 cup of strawberries with blueberries | This unexpected herb twist gives your jam a fragrant, slightly savory finish, and the addition of blueberries adds complexity and color. |
| Strawberry-Lemon Zest Jam | Zest from 1 lemon | With lemon juice, before macerating the strawberries | The bright, citrusy zest enhances the natural sweetness of the strawberries while adding a fresh, zesty zing to the jam’s overall flavor profile. |
| Strawberry-Blueberry Jam | Blueberries (note: this variation may be thinner) | During the initial prep stage | A gorgeous, deep purple color and a tangy blueberry flavor elevate the classic strawberry jam. However, keep in mind that it will be a little thinner. |
| Spiced Strawberry Jam | ¼ tsp cinnamon + a pinch of nutmeg or cardamom | During cooking | The warm spices in this variation add a cozy, aromatic touch. Cinnamon and nutmeg meld beautifully with the strawberries, giving the jam a comforting, spiced flavor. |
| Strawberry-Mint Jam | 1 tbsp finely chopped mint | After cooking, before jarring | The refreshing, cool flavor of mint contrasts wonderfully with the rich sweetness of strawberries, offering a light, crisp alternative to traditional jams. |
| Low-Sugar Strawberry Jam | 1–1½ cups sugar (instead of 2 cups) | During cooking, but note that the jam may be thinner with less sugar | A healthier alternative for those looking to cut down on sugar. The result is a lighter, fruit-forward jam that’s still perfectly sweet, though it may require a bit more patience to set. |
| Maple-Sweetened Strawberry Jam | ¾ cup maple syrup (instead of sugar) | Use caution, as this version will be softer and set more slowly | Maple syrup offers a rich, caramel-like sweetness that complements the strawberries beautifully. It’s an excellent option for those looking for a more natural, refined sugar alternative. |
Each of these variations keeps the same base method for strawberry jam but allows you to experiment with flavors that suit your taste preferences. From zesty and herbaceous to spiced and sweet, these twists ensure you never get bored of your strawberry jam-making endeavors!
Final Thoughts
This simple, yet delicious strawberry jam recipe proves that you don’t need specialized equipment or intricate techniques to create something extraordinary.
With just a handful of fresh ingredients and a bit of stovetop magic, you can whip up a smooth, glossy jam that perfectly captures the essence of summer in every spoonful.
Whether you spread it generously on warm biscuits, mix it into creamy yogurt, or drizzle it over a decadent cheesecake, your homemade strawberry jam will effortlessly elevate any meal or snack.
The best part? You made it all yourself—no artificial pectin, no preservatives, just pure, wholesome flavor in every jar.
So, why not indulge in the joy of making your own jam? Grab some fresh, ripe strawberries, and transform your kitchen into a jam-making paradise. After just one batch, you’ll be hooked on the sweet satisfaction of homemade goodness.