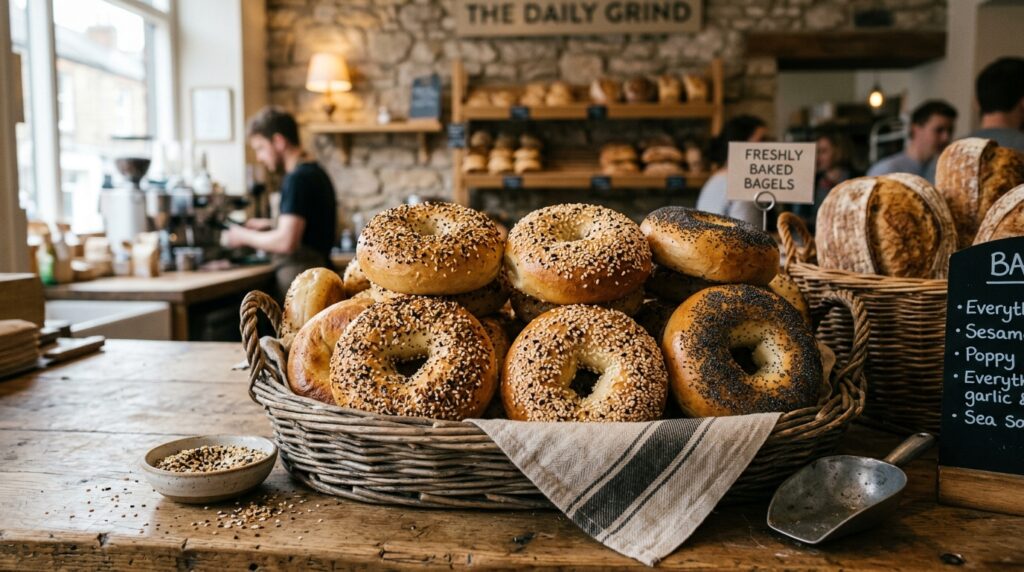

There’s something incredibly satisfying about pulling warm, golden bagels from your own oven. The best part? You don’t need a long list of ingredients, special baking skills, or hours of waiting.
2 Ingredient Bagels have become one of my favorite homemade baking shortcuts because they deliver that chewy, bakery-style texture with minimal effort. Whether you’re looking for a quick breakfast, a meal-prep staple, or a fun weekend baking project, these easy bagels check every box.
What makes them so popular is their simplicity. With just two main ingredients, you can create soft, fluffy bagels that taste freshly baked and pair beautifully with everything from cream cheese to smoked salmon.
If you’ve always thought homemade bagels were complicated, this guide will completely change your mind.
Key Takeaways
- Only two main ingredients are required.
- No yeast is needed.
- Beginner-friendly and nearly foolproof.
- Ready in under 40 minutes.
- Easy to customize with toppings and flavors.
- Great for meal prep and freezing.
- Perfect for breakfast, lunch, or snacks.
What You’ll Need
Main Ingredients
| Ingredient | Amount |
|---|---|
| Self-rising flour | 2 cups |
| Plain Greek yogurt | 1 cup |
Optional Toppings
- Everything bagel seasoning
- Sesame seeds
- Poppy seeds
- Shredded cheddar cheese
- Garlic powder
- Onion flakes
- Cinnamon sugar
Egg Wash
- 1 egg
- 1 tablespoon water
Kitchen Tools
- Mixing bowl
- Measuring cups
- Baking sheet
- Parchment paper
- Pastry brush
- Knife or dough scraper
- Cooling rack
Helpful Ingredient Notes
Self-Rising Flour
Self-rising flour already contains baking powder and salt, which helps the bagels rise beautifully without yeast.
Greek Yogurt
Use thick plain Greek yogurt rather than regular yogurt. The thicker texture creates a manageable dough and contributes to the bagels’ chewy interior.
In my experience, full-fat Greek yogurt produces the most authentic bagel texture, though low-fat versions also work well.
Step 1: Prepare Your Baking Area
Preheat your oven to 375°F (190°C).
Line a baking sheet with parchment paper.
Having everything prepared before mixing helps the process move quickly and prevents the dough from becoming sticky while you search for tools.
Step 2: Mix the Dough
Add the flour and Greek yogurt to a large mixing bowl.
Stir until the ingredients begin to combine.
At first, the mixture may appear dry and shaggy. Keep mixing until large clumps form.
The dough should look slightly rough but hold together when pressed.
What the Dough Should Feel Like
- Soft but not wet
- Slightly tacky
- Easy to handle
- Not crumbly
If the dough feels too sticky, add a small amount of flour.
If it’s too dry, add a spoonful of yogurt.
Step 3: Knead Until Smooth
Transfer the dough onto a lightly floured surface.
Knead for approximately 2 to 3 minutes.
The goal isn’t to develop extensive gluten like traditional bread. You’re simply creating a smoother, more cohesive dough.
I’ve noticed that beginners often stop kneading too soon. A few extra folds make shaping significantly easier later.
Signs It’s Ready
- Smooth appearance
- Elastic texture
- Holds shape easily
- No large dry patches
Step 4: Divide and Shape
Cut the dough into four equal portions.
Roll each piece into a rope approximately 8 inches long.
Join the ends together and gently pinch to form a circle.
Try to keep the center hole slightly larger than you think necessary because it will shrink during baking.
Common Shaping Tip
A helpful trick is to wet your fingertips slightly before sealing the ends. This creates a stronger bond and helps prevent the bagels from opening while baking.
Step 5: Add Egg Wash and Toppings
Place the shaped dough onto the prepared baking sheet.
Whisk the egg and water together.
Brush each bagel generously.
Sprinkle with your chosen toppings.
The egg wash creates that beautiful golden-brown finish many people associate with bakery bagels.
Step 6: Bake Until Golden
Bake for 22 to 27 minutes.
The exact time depends on your oven and bagel size.
Look For These Signs
- Deep golden exterior
- Slight cracking on top
- Firm outer crust
- Hollow sound when tapped
Your kitchen will smell warm, toasty, and incredibly inviting.
Step 7: Cool Before Slicing
Allow the bagels to cool on the baking sheet for 5 minutes.
Transfer them to a wire rack.
While it’s tempting to cut into them immediately, waiting allows the interior structure to set properly.
The result is a chewier texture and cleaner slices.
Helpful Baking Time Table
| Bagel Size | Baking Time | Result |
| Small | 20–22 min | Softer texture |
| Medium | 22–25 min | Classic texture |
| Large | 25–27 min | Extra chewy |
Tips for Best Results
Use Thick Yogurt
Thicker yogurt creates easier-to-handle dough and better texture.
Don’t Over-Flour
Too much flour can make the finished bagels dense and dry.
Rotate the Pan
Halfway through baking, rotate the baking sheet for even browning.
Let Them Cool
Cooling improves texture significantly.
Use Fresh Toppings
Fresh seasonings provide better flavor and visual appeal.
I’ve tried dozens of topping combinations, and everything bagel seasoning remains one of the most reliable crowd-pleasers.
Common Mistakes to Avoid
| Mistake | Result |
| Using regular yogurt | Sticky dough |
| Overworking dough | Dense bagels |
| Skipping egg wash | Pale appearance |
| Too much flour | Dry texture |
| Underbaking | Gummy centers |
| Cutting while hot | Compressed interior |
Delicious Variations
Everything Seasoning
Classic savory flavor with garlic, sesame, onion, and poppy seeds.
Cheddar Jalapeño
Mix shredded cheddar and diced jalapeños into the dough.
Cinnamon Sugar
Perfect for breakfast and lightly sweet snacks.
Garlic Parmesan
Brush with melted butter after baking and sprinkle with Parmesan.
Protein-Packed Version
Add a tablespoon of unflavored protein powder to the flour mixture.
Herb Garden Style
Mix dried basil, oregano, and parsley into the dough.
Storage and Reheating
Refrigerator
Store in an airtight container for up to 5 days.
Freezer
Freeze for up to 3 months.
Slice before freezing for easier reheating.
Reheating Methods
| Method | Time |
| Toaster | 2–3 min |
| Oven | 5–7 min |
| Air Fryer | 3–4 min |
| Microwave | 15–20 sec |
For the best texture, I recommend reheating in a toaster or air fryer.
Serving Ideas
These homemade bagels pair beautifully with:
- Cream cheese
- Smoked salmon
- Avocado slices
- Peanut butter
- Egg sandwiches
- Turkey and cheese
- Chicken salad
- Fresh berries and honey
They’re versatile enough for breakfast, lunch, or an afternoon snack.
Frequently Asked Questions
Can I use regular yogurt instead of Greek yogurt?
Greek yogurt is strongly recommended because it’s thicker and creates the correct dough consistency.
Do I need yeast?
No. Self-rising flour provides the lift needed for this recipe.
Can I make them gluten-free?
Yes. Use gluten-free self-rising flour designed for baking.
Why are my bagels dense?
Too much flour or overmixing the dough are common causes.
Can I freeze them?
Absolutely. Freeze cooled bagels in airtight freezer bags for up to three months.
Are they good for meal prep?
Yes. They store well and reheat beautifully throughout the week.
Conclusion
Homemade baking doesn’t have to be complicated to be rewarding. These 2 Ingredient Bagels prove that a simple recipe can still deliver impressive results. With minimal ingredients, quick preparation, and endless customization options, they’re perfect for busy mornings, meal prep sessions, or anyone wanting fresh-baked comfort without the hassle.
I’ve seen simple recipes like these become household favorites because they’re reliable, approachable, and genuinely delicious. Save this recipe for later, share it with fellow bagel lovers, and enjoy the satisfaction of making warm, bakery-style bagels right in your own kitchen.