

Are you looking for a delicious oreo treat that’s easy to make? Look no further! This 3-ingredient wonder is about to become your new favorite snack. With just a few simple ingredients, you can create a batch of irresistible oreo balls that are perfect for any occasion.
The best part about this oreo balls recipe is its simplicity. You don’t need to be an experienced baker to make these tasty treats. Just mix, roll, and chill – it’s that easy! Whether you’re planning a party or just want a sweet treat, this recipe is sure to satisfy your cravings.
Key Takeaways
- Easy to make with just 3 ingredients
- Perfect for parties or as a sweet treat
- No baking experience required
- Irresistible deliciousness in every bite
- Great for any occasion
Why Oreo Balls Are the Ultimate No-Bake Treat
Easy Oreo balls are the perfect solution for those seeking a delicious dessert without the hassle of baking. These bite-sized treats have captured the hearts of many with their simplicity and irresistible taste.
One of the main reasons Oreo balls stand out is their ease of preparation. With just three ingredients – Oreo cookies, cream cheese, and chocolate – you can create a batch of these delightful treats in no time. The process is straightforward, requiring no baking, making it accessible to everyone, even those who are new to dessert making.
No-bake Oreo balls are not only easy to make but also offer a versatile dessert option. They can be customized with different flavors and toppings, making them suitable for various occasions, from casual gatherings to more formal events.
Benefits of No-Bake Oreo Balls
| Benefit | Description |
| Easy to Make | Requires only three ingredients and no baking |
| Versatile | Can be customized with different flavors and toppings |
| Perfect for Any Occasion | Suitable for casual gatherings and formal events |
The convenience of no-bake Oreo balls extends beyond their preparation. They are also easy to store and transport, making them an ideal treat for parties, potlucks, or as a sweet snack to have on hand.
In summary, the combination of ease, versatility, and deliciousness makes no-bake Oreo balls the ultimate treat for anyone looking for a quick and satisfying dessert.
The 3 Simple Ingredients You Need
To make perfect oreo balls, you’ll need just three ingredients, each playing a vital role in creating these delicious treats. Understanding the function of each ingredient is key to making chocolate oreo truffles that are both tasty and visually appealing.
Oreo Cookies: The Star Ingredient
Oreo cookies are the foundation of homemade oreo balls, providing the primary flavor and texture. You can use any flavor of Oreo cookies you prefer, from classic to seasonal varieties, allowing for a range of creative possibilities.
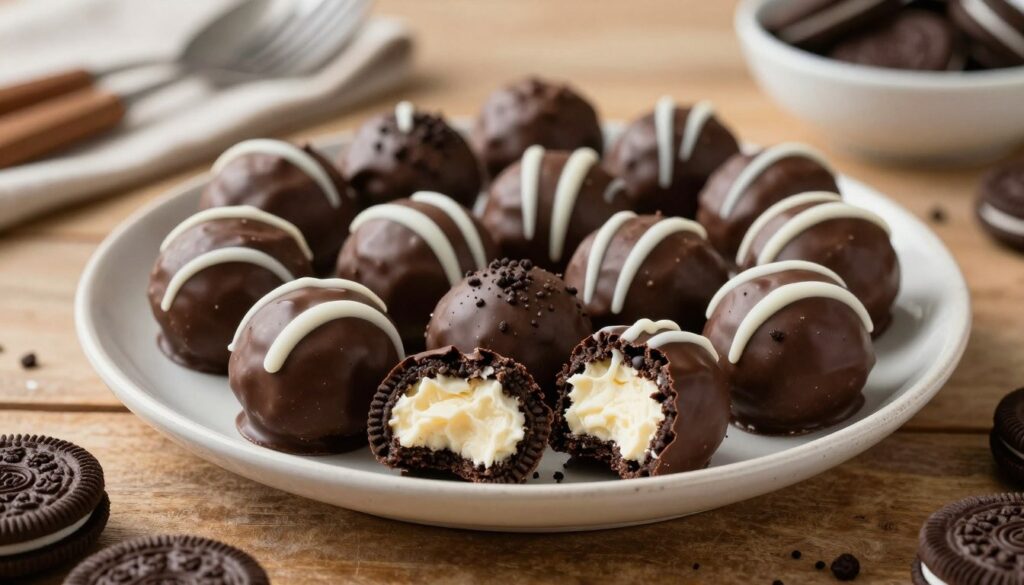
Cream Cheese: The Binding Agent
Cream cheese acts as the glue that holds the oreo balls together. It mixes with the crushed Oreo cookies to form a dough-like consistency that can be easily shaped into balls. The quality of the cream cheese can affect the overall texture, so it’s best to use full-fat cream cheese for the best results.
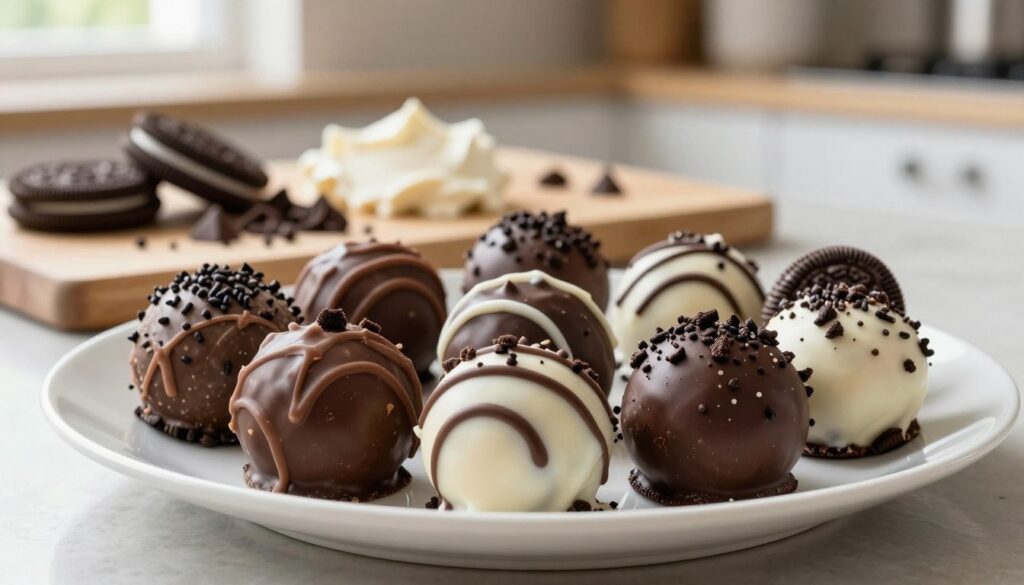
Chocolate Coating: The Finishing Touch
The chocolate coating not only adds an extra layer of flavor but also gives the oreo balls their attractive appearance. You can choose between milk chocolate, dark chocolate, or white chocolate, depending on your preference or the occasion. The chocolate should be melted to a smooth consistency to coat the oreo balls evenly.
| Ingredient | Role | Tips |
| Oreo Cookies | Main flavor and texture | Experiment with different flavors |
| Cream Cheese | Binding agent | Use full-fat for better texture |
| Chocolate Coating | Additional flavor and appearance | Choose based on preference or occasion |
Essential Equipment for Making Oreo Balls
To create perfect oreo dessert balls, you’ll need to gather some necessary tools and equipment. Having the right gear makes the process smoother and more enjoyable.
The first piece of equipment you’ll need is a food processor. This is used to crush the Oreo cookies into fine crumbs, which is essential for creating a uniform texture in your oreo balls.
Next, you’ll need a mixing bowl where you can combine the crushed Oreos with cream cheese. A large, sturdy bowl is ideal for this step, as it allows you to mix the ingredients thoroughly.
Another crucial piece of equipment is a chocolate melter or a double boiler. This is necessary for melting the chocolate coating, which is a key component of oreo dessert balls. You can also use a microwave-safe bowl to melt the chocolate, but be cautious of overheating.
Other helpful tools include:
- A cookie scoop or spoon to portion out the mixture and form the balls.
- A baking sheet lined with parchment paper to chill the oreo balls.
- A wire rack for cooling the chocolate-coated oreo balls.
By having these essential pieces of equipment on hand, you’ll be well-prepared to make delicious oreo dessert balls with ease.
Step-by-Step Oreo Balls Recipe
Creating these delicious Oreo balls is easier than you think, and we’re here to guide you through every step. With a simple Oreo balls recipe, you’ll be making these treats like a pro in no time.
Step 1: Crush the Oreo Cookies
The first step in making our oreo cookie balls is to crush the Oreo cookies. You can do this using a food processor or by placing the cookies in a plastic bag and crushing them with a rolling pin. The goal is to get fine crumbs, so be thorough.
Step 2: Mix with Cream Cheese
Once you have your Oreo crumbs, it’s time to mix them with cream cheese. The cream cheese acts as a binding agent, holding the crumbs together. Use a stand mixer or a hand mixer to combine the two ingredients until you have a uniform mixture.
Step 3: Form the Balls
With your mixture ready, it’s time to form the balls. Use a small cookie scoop or your hands to shape the mixture into balls. Try to make them as uniform as possible so they chill and coat evenly.
Step 4: Chill the Oreo Balls
Place the formed Oreo balls on a baking sheet lined with parchment paper and chill them in the refrigerator for at least 30 minutes. This step is crucial as it helps the balls firm up, making them easier to coat in chocolate.
Step 5: Melt the Chocolate
While your Oreo balls are chilling, you can start melting the chocolate. Use a double boiler or a microwave-safe bowl to melt the chocolate. If using a microwave, heat the chocolate in 30-second increments, stirring between each heating, until smooth.
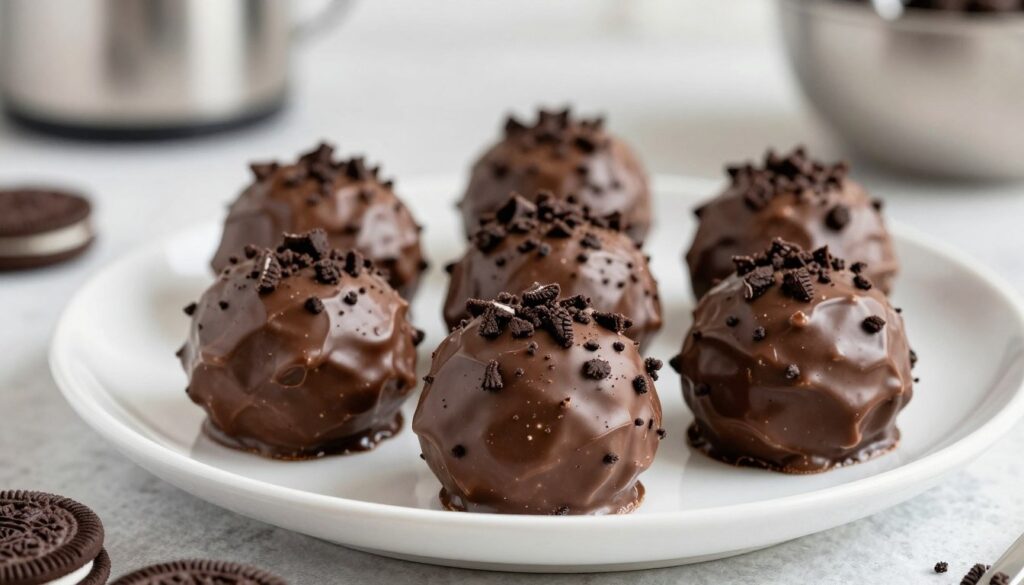
Step 6: Coat and Decorate
Once your chocolate is melted and your Oreo balls are chilled, it’s time to coat them. Dip each ball into the melted chocolate using a fork or dipping tool, then place them back on the parchment paper. If desired, decorate with sprinkles or other toppings before the chocolate hardens.
By following these simple steps, you’ll have a batch of delicious oreo cookie balls ready to enjoy. This simple oreo balls recipe is perfect for any occasion, from parties to personal treats.
Pro Tips for Perfect Oreo Balls Every Time
The secret to making easy Oreo balls lies in a few simple tricks. With the right techniques, you can create delicious treats that are sure to impress. In this section, we’ll share expert advice on how to achieve perfection in every batch.
Getting the Right Consistency
Achieving the right consistency is crucial for making easy Oreo balls. If the mixture is too dry, it won’t hold together; if it’s too wet, it will be difficult to shape. The key is to find the perfect balance. To do this, ensure that you’re using the right ratio of Oreo cookies to cream cheese. A good starting point is to use 1 block of cream cheese for every 36 Oreo cookies.
When mixing the ingredients, pay attention to the texture. If it’s too crumbly, add a bit more cream cheese. If it’s too sticky, add a few more crushed Oreos. It’s all about making adjustments as you go.
Achieving a Smooth Chocolate Coating
A smooth chocolate coating is what sets professional-looking Oreo balls apart from the rest. To achieve this, melt the chocolate slowly and gently. You can do this by using a double boiler or by heating it in short intervals in the microwave, stirring between each heating.
Once the chocolate is melted, dipping the Oreo balls becomes much easier. Make sure to tap off any excess chocolate by gently tapping the fork or dipping tool against the side of the bowl. This helps prevent a thick, uneven coating.
Preventing Cracks in Your Oreo Balls
Cracks in Oreo balls can be prevented by ensuring that they’re chilled properly before coating. Chilling helps the balls to firm up, making them less likely to crack when coated in chocolate. Make sure to chill them for at least 30 minutes.
Another tip is to avoid sudden temperature changes. Let the chocolate cool slightly before coating the Oreo balls, as this reduces the risk of cracking due to thermal shock.
Temperature Control Secrets
Temperature control is vital when making Oreo balls. From chilling the balls to controlling the temperature of the chocolate, every step matters. For the best results, work in a cool environment, and keep the chocolate at a comfortable temperature for handling.
| Temperature Control Tips | Benefits |
| Chill Oreo balls before coating | Prevents cracking |
| Melt chocolate slowly | Achieves smooth coating |
| Work in a cool environment | Eases handling and coating |
By following these pro tips, you’ll be well on your way to making perfect easy Oreo balls every time. Whether you’re a beginner or an experienced baker, these tips will help you achieve professional results.
Common Mistakes to Avoid When Making Oreo Balls
Making no-bake Oreo balls can be a fun and rewarding experience, but there are several common mistakes that can ruin your treats. Being aware of these potential pitfalls can help you create perfect chocolate Oreo truffles every time.
Using Too Much or Too Little Cream Cheese
One of the most critical factors in making successful Oreo balls is using the right amount of cream cheese. Too little cream cheese can result in a mixture that is too dry and crumbly, while too much cream cheese can make it too wet and difficult to handle. The key is to find the perfect balance that holds the Oreo cookies together without making the mixture too sticky.
Not Chilling Long Enough
Chilling is a crucial step in the process of making Oreo balls. If you don’t chill them long enough, they may not hold their shape when coated in chocolate. Proper chilling helps to firm up the Oreo mixture, making it easier to coat and resulting in a smoother finish.
Overheating the Chocolate
When melting chocolate for coating, it’s easy to overheat it, which can lead to a grainy or seized texture. Tempering chocolate or heating it gently can help prevent this issue. It’s also important to monitor the temperature closely to achieve a smooth, glossy coat.
Rolling Balls That Are Too Large
Rolling Oreo balls that are too large can make them difficult to coat evenly and can result in an inconsistent texture. Aim for uniformity in the size of your Oreo balls to ensure they look professional and are enjoyable to eat.
By avoiding these common mistakes, you can create delicious and visually appealing no-bake Oreo balls and chocolate Oreo truffles that are sure to impress. Whether you’re making them for a party or as a special treat, following these guidelines will help you achieve success.
Creative Variations of the Classic Oreo Balls Recipe
Elevate your dessert game with creative twists on the classic Oreo balls recipe. The versatility of Oreo dessert balls allows you to experiment with a variety of flavors, making them perfect for different occasions and preferences.
Peppermint Oreo Balls
Add a refreshing twist to your Oreo balls by incorporating peppermint extract or peppermint candies. These make a great holiday treat, especially during Christmas.
Peanut Butter Oreo Balls
For peanut butter lovers, mixing peanut butter with the cream cheese can create a rich and nutty flavor. You can also roll these balls in peanut butter cups for an extra crunchy coating.
Red Velvet Oreo Balls
Using red velvet Oreos instead of the classic ones can give your dessert a striking color and a subtle cocoa flavor. These are perfect for Valentine’s Day or any other romantic occasion.
Golden Oreo Balls
Golden Oreos offer a vanilla flavor twist. You can enhance this by adding a hint of lemon or orange zest to the mix, making them ideal for spring celebrations.
Birthday Cake Oreo Balls
Birthday cake-flavored Oreos bring a festive touch to your dessert. These are great for birthday parties or any celebration where you want to add a fun element.
Here’s a comparison of the different Oreo balls variations:
| Variation | Flavor Profile | Best For |
| Peppermint | Refreshing, minty | Holiday season |
| Peanut Butter | Rich, nutty | Peanut butter lovers |
| Red Velvet | Cocoa, subtle tang | Valentine’s Day, romantic occasions |
| Golden | Vanilla, hint of citrus | Spring celebrations |
| Birthday Cake | Festive, cake-like | Birthday parties, celebrations |
Experimenting with different Oreo flavors and mix-ins can help you create unique dessert balls that cater to various tastes and occasions. Don’t be afraid to get creative and try out new combinations!
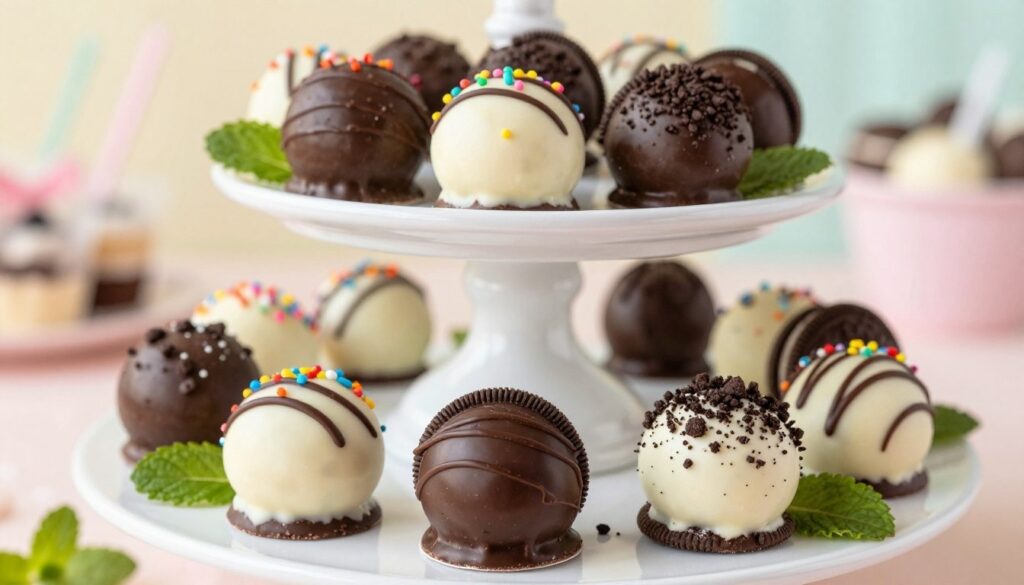
How to Decorate Your Oreo Balls Like a Pro
The art of decorating Oreo balls is where you can let your creativity shine. With a few simple techniques, you can transform your Oreo cookie balls into stunning desserts that are almost too beautiful to eat.
Drizzle Techniques for Elegant Designs
Drizzling is a simple yet effective way to add a professional touch to your Oreo balls. To achieve elegant designs, melt a small amount of chocolate or candy melts and use a spoon or piping bag to drizzle it over your Oreo balls.
- Use a contrasting color to make the drizzle stand out.
- Experiment with different patterns, such as zigzags or straight lines.
- For a more intricate design, use a piping bag with a small round tip.
Sprinkle and Topping Ideas
Sprinkles and toppings can add color, texture, and flavor to your Oreo balls. Here are some ideas to get you started:
- Crushed nuts or sprinkles for added texture and color.
- Edible glitter or luster dust for a touch of sparkle.
- Coconut flakes or shredded chocolate for a different texture.
- Sea salt or caramel sauce for a salty-sweet contrast.
Seasonal Decoration Inspiration
Decorating your Oreo balls according to the season or holiday can make them even more special. Here are some ideas:
- For Christmas, use red and green sprinkles or holly-shaped decorations.
- For Halloween, try orange and black colors with spider web designs.
- For Valentine’s Day, use pink and red hearts or conversation hearts.
- For Easter, decorate with pastel colors and bunny or egg-themed sprinkles.
By incorporating these decorating ideas, you can create Oreo cookie balls that are not only delicious but also visually appealing and perfect for any occasion.
Serving Suggestions for Your Oreo Balls
Oreo balls are not just a tasty dessert; they’re also a versatile treat that can be served in various creative ways. Whether you’re planning a party, looking for a sweet snack, or need a dessert for a special occasion, Oreo balls made with a simple Oreo balls recipe are sure to delight.
Perfect Occasions for Oreo Balls
Oreo balls are perfect for numerous occasions, including birthday parties, holiday gatherings, and even as a sweet treat for a weeknight dessert. Their ease of preparation and elegant appearance make them a delicious Oreo treat suitable for both kids and adults.
- Birthday parties
- Holiday gatherings
- Weddings
- Baby showers
Creative Presentation Ideas
Presentation can elevate the appeal of your Oreo balls. Consider arranging them on a decorative platter or tray, or individually wrapping them in decorative wrappers for a more personalized touch.
For a more elegant look, you can drizzle the Oreo balls with melted chocolate or add sprinkles to match the occasion’s theme.
Pairing Recommendations
Oreo balls can be paired with a variety of beverages and desserts to enhance their flavor. Some popular pairing options include:
| Beverage/Dessert | Pairing Reason |
| Coffee | The bitterness of coffee complements the sweetness of Oreo balls. |
| Milk | A classic pairing that works well for those who prefer a milder flavor. |
| Ice Cream | Combining Oreo balls with ice cream creates a decadent dessert. |
By incorporating these serving suggestions, you can enjoy your simple Oreo balls recipe in new and exciting ways, making it a truly delicious Oreo treat for any occasion.
How to Store Oreo Balls for Maximum Freshness
To keep your Oreo balls fresh for as long as possible, proper storage is essential. Whether you’re making a batch for a party or just for personal enjoyment, understanding how to store them correctly can make a big difference in their longevity and taste.
Refrigerator Storage Guidelines
For short-term storage, the refrigerator is your best bet. Here are some tips to keep in mind:
- Store Oreo balls in an airtight container to prevent moisture and other flavors from affecting them.
- Keep them away from strong-smelling foods, as Oreo balls can absorb odors easily.
- Place the container in the refrigerator at a consistent temperature below 40°F (4°C).
Freezer Storage for Long-Term Keeping
If you want to store Oreo balls for a longer period, consider using your freezer:
- Place the Oreo balls in a single layer on a baking sheet and freeze until solid.
- Transfer the frozen Oreo balls to an airtight container or freezer bag, making sure to remove as much air as possible before sealing.
- Store them in the freezer at 0°F (-18°C) or below.
Shelf Life and Food Safety Tips
Understanding the shelf life of your Oreo balls and following food safety guidelines is crucial:
- Oreo balls stored in the refrigerator typically last up to 5 days.
- Frozen Oreo balls can last for up to 3 months.
- Always check for signs of spoilage before consuming, such as an off smell or visible mold.
By following these storage guidelines, you can enjoy your Oreo balls at their best, whether you’re savoring them immediately or saving them for later.
Why This Recipe Will Be a 2026 Favorite
The 3-Ingredient Oreo Balls Recipe is not just a treat; it’s a culinary experience that’s going to be huge in 2026. Easy to make and delicious, these no-bake Oreo balls are perfect for anyone looking for a simple yet impressive dessert.
One of the main reasons this recipe will be a favorite in 2026 is its simplicity. With just three ingredients, you can create a dessert that’s sure to impress. The absence of baking makes it accessible to everyone, regardless of their baking skills.
The versatility of the 3-Ingredient Oreo Balls Recipe is another factor that will contribute to its popularity. You can customize it with different flavors and toppings, making it suitable for various occasions and preferences. Whether you’re looking for a dessert for a party or a sweet treat for your family, this recipe fits the bill.
In 2026, the trend of no-bake desserts is expected to continue growing, and the 3-Ingredient Oreo Balls Recipe is at the forefront of this trend. Its ease of preparation, combined with its delicious taste, makes it a perfect fit for the modern lifestyle.
As people continue to look for easy and convenient dessert options, recipes like the 3-Ingredient Oreo Balls will become increasingly popular. It’s a dessert that you can feel good about serving to your guests, knowing that it’s made with simple, high-quality ingredients.
Conclusion
Now that you’ve discovered the simplicity and delight of making chocolate oreo truffles, it’s time to get creative in the kitchen. With just three ingredients, you can craft a treat that’s sure to impress friends and family. The 3-Ingredient Oreo Balls Recipe is perfect for any occasion, whether you’re looking for a sweet snack or a thoughtful gift.
By following the steps outlined in this article, you’ll be able to create delicious chocolate oreo truffles that are sure to become a favorite. Experiment with different variations and decorations to make your treats truly unique. Share your experiences and show off your creations to inspire others to try this easy and enjoyable recipe.
With the tips and techniques provided, you’re well on your way to becoming an expert in making these delightful chocolate oreo truffles. Enjoy the process, and happy crafting!
FAQ
What is the best way to crush Oreo cookies for Oreo balls?
The best way to crush Oreo cookies is by using a food processor. This will give you a fine crumb that’s perfect for making Oreo balls. You can also place the cookies in a plastic bag and crush them with a rolling pin, but be careful not to leave any large chunks.
Can I use a different type of cookie instead of Oreos?
While Oreos are the classic choice for Oreo balls, you can experiment with other cookies. However, keep in mind that the flavor and texture may vary. Some alternatives like chocolate sandwich cookies or cookies with a similar texture to Oreos might work well.
How long do I need to chill Oreo balls before coating them in chocolate?
It’s recommended to chill Oreo balls for at least 30 minutes to an hour before coating them in chocolate. This will help them firm up and make the coating process easier.
What type of chocolate is best for coating Oreo balls?
You can use any type of chocolate you prefer for coating Oreo balls, such as milk chocolate, dark chocolate, or white chocolate. Melting chocolate chips or chocolate candy melts work well, too.
How do I prevent Oreo balls from cracking when coating with chocolate?
To prevent cracking, make sure your Oreo balls are chilled properly before coating. Also, avoid overheating the chocolate, as this can cause it to seize up and crack. If you notice the chocolate starting to thicken, you can try tempering it or adding a small amount of shortening to achieve a smooth coat.
Can I make Oreo balls ahead of time and store them?
Yes, you can make Oreo balls ahead of time. They can be stored in an airtight container in the refrigerator for up to 5 days or frozen for longer storage. Just be sure to keep them away from strong-smelling foods, as they can absorb odors easily.
Are Oreo balls suitable for special diets or occasions?
Oreo balls can be adapted to suit various dietary needs. For example, you can use gluten-free Oreos or dairy-free chocolate. They’re also versatile enough to be decorated for different occasions, making them a great treat for parties or special events.
How do I achieve a smooth chocolate coating on my Oreo balls?
To achieve a smooth chocolate coating, melt the chocolate at a low temperature, stirring frequently. You can also add a small amount of shortening, like coconut oil or vegetable shortening, to the melted chocolate to help it coat the Oreo balls evenly.